

I know, I know. It took me a long time to write this blog. But here it is! (Also I’m still waiting on my professional photos and this is the only one my aunt was able to get before it was done and set in the right place) Signage for weddings can be so expensive. Don’t take me wrong. There are amazing Etsy shops that do wonderful work. But when you have a budget and truly cannot spend more, this can be a great solution.
Material:
- IKEA rack ($9.99)
- Acrylic Sheets ($30)
- Vinyl for Cricut ($7.99) I used 2
- Drill Bit for Acrylic holes ($8.50)
- 1/2 Inch Grommets ($3.57)
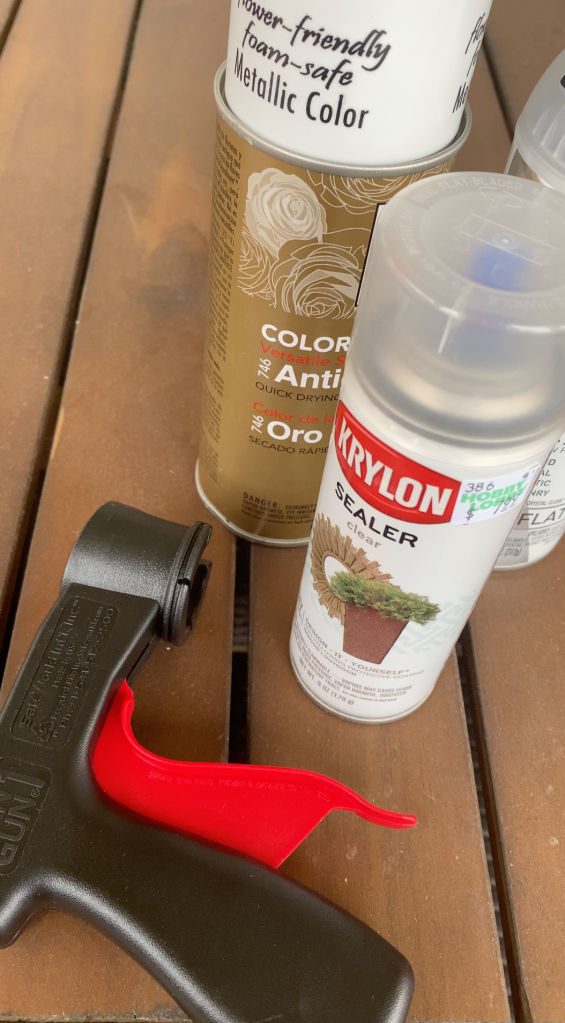
- Spray Paint tool ($5.99)
- Spray Paint and Spray Paint Primer of your choice
- Ribbon to hang signs ($4.99) or chain depends on your design
TOTAL PER SIGN: ~$70!
All right, now that you have the material, let’s start with the fun part of this! (I highly suggest starting this NOT on the week of your wedding like I did, the bags under your eyes will thank you).
STEP 1:
Using the spray paint tool, spray at least 2-3 coats on your rack. You can do this either before you put the pieces together or after. For me it was easier after assembling the rack. Let it dry between each layer. Finish by using primer/sealer to make sure the paint doesn’t scratch off. Make sure to do this outside and cover any areas you don’t want to ruin.


STEP 2:
Drill the holes. This was tricky. And we may have lost an acrylic sheet in the process, but we failed so you won’t. You will need the special drill bit I linked above and one scratch piece of plywood, etc. to clamp the acrylic to. My now-husband helped on this particular step, so I had him describe the steps below:
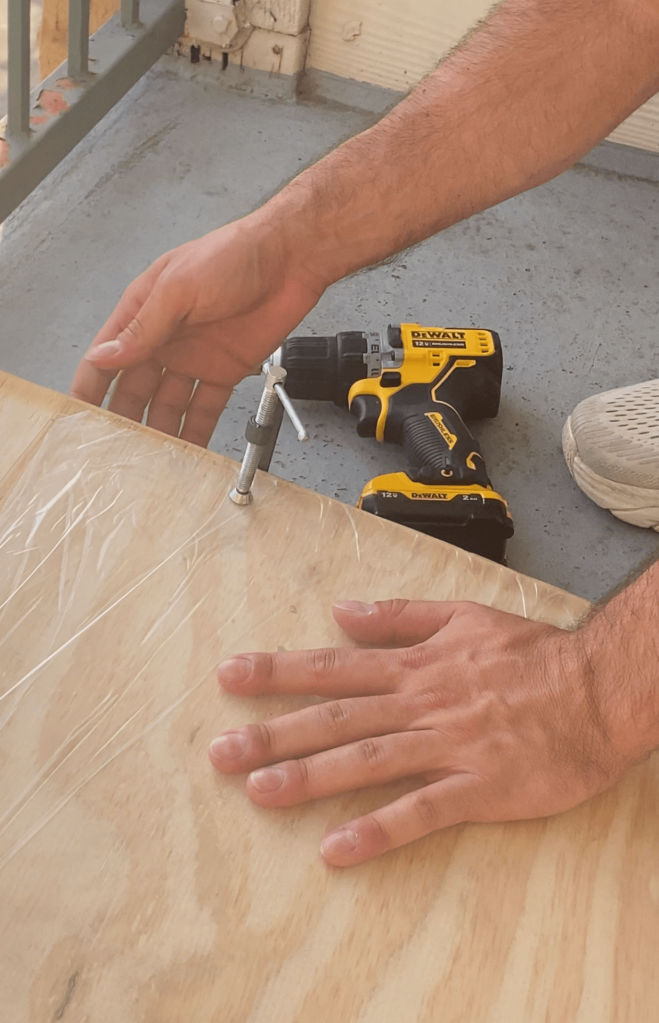
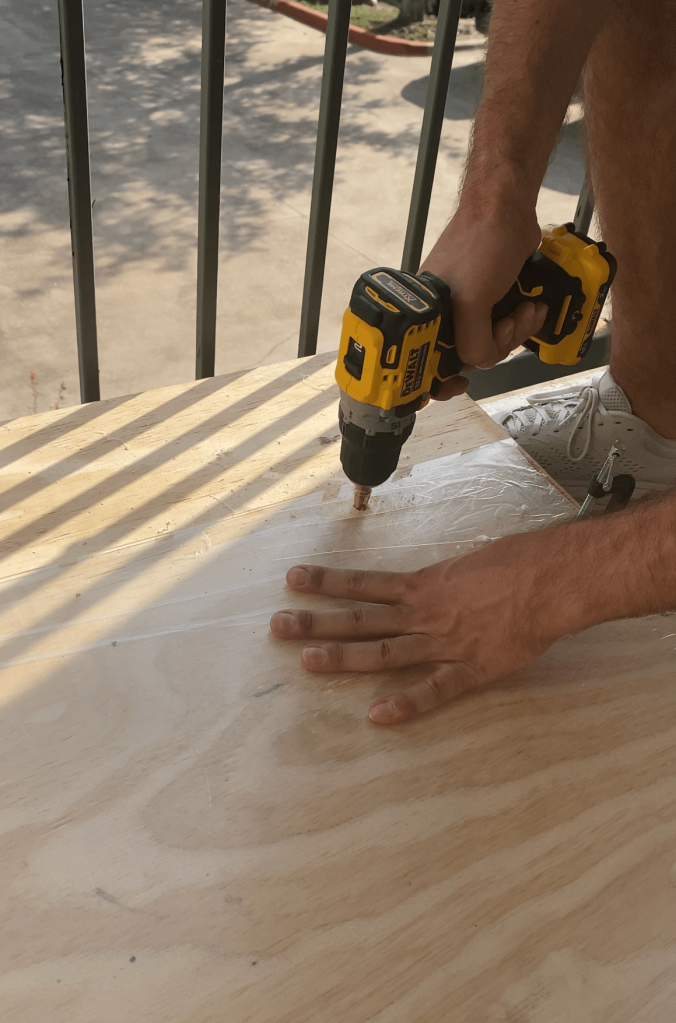
- Clamp the acrylic sheet to the extra piece of plywood to keep it from shifting during the drilling process. I actually wouldn’t remove the protective film at any point. This will help mitigate scratches and scuffs on the acrylic, and you can drill through it easily. You’ll want to prop it up on something; I used a dumbbell. This is so when you drill through the plywood, the drill bit doesn’t hit the concrete or whatever surface you are on. (Picture 1)
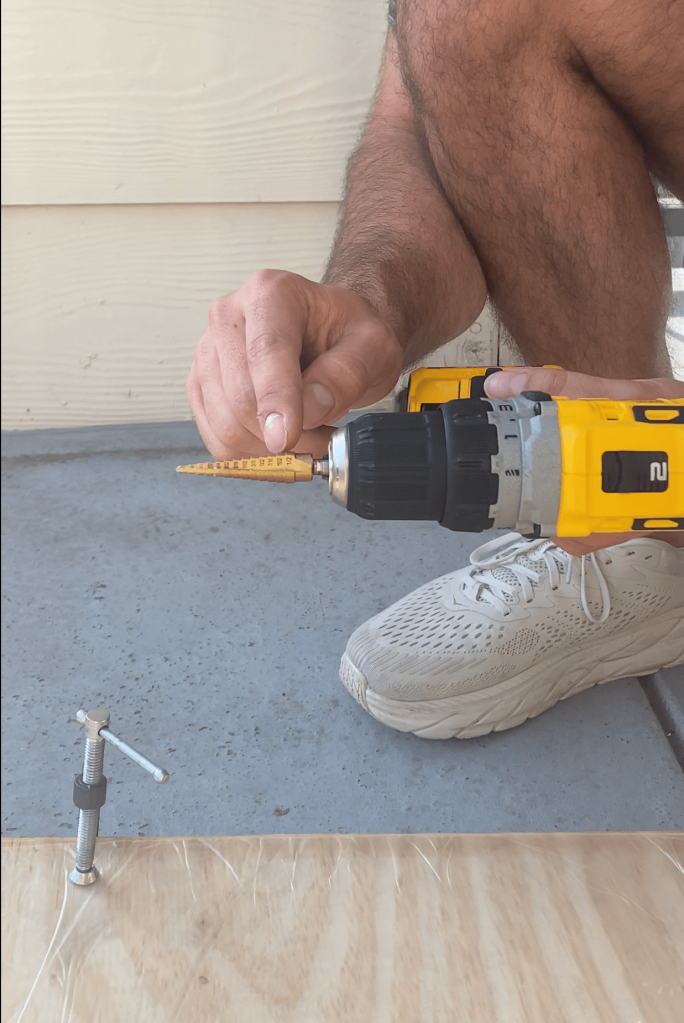
- Purchase the drill bit that corresponds with the hole diameter you are wanting, and attach to drill. I chose the one that went to 1/2 at the largest, although I now wish I would have chosen the larger range one (that went bigger than 1/2″) in order to have more flexibility in sizing, seeing as the grommets we bought were just slightly bigger than their listed size of 1/2″. However, this at least allowed me to not accidentally drill the holes too large, and the bigger-range bit is less pointed, so your results may vary. (Picture 2)
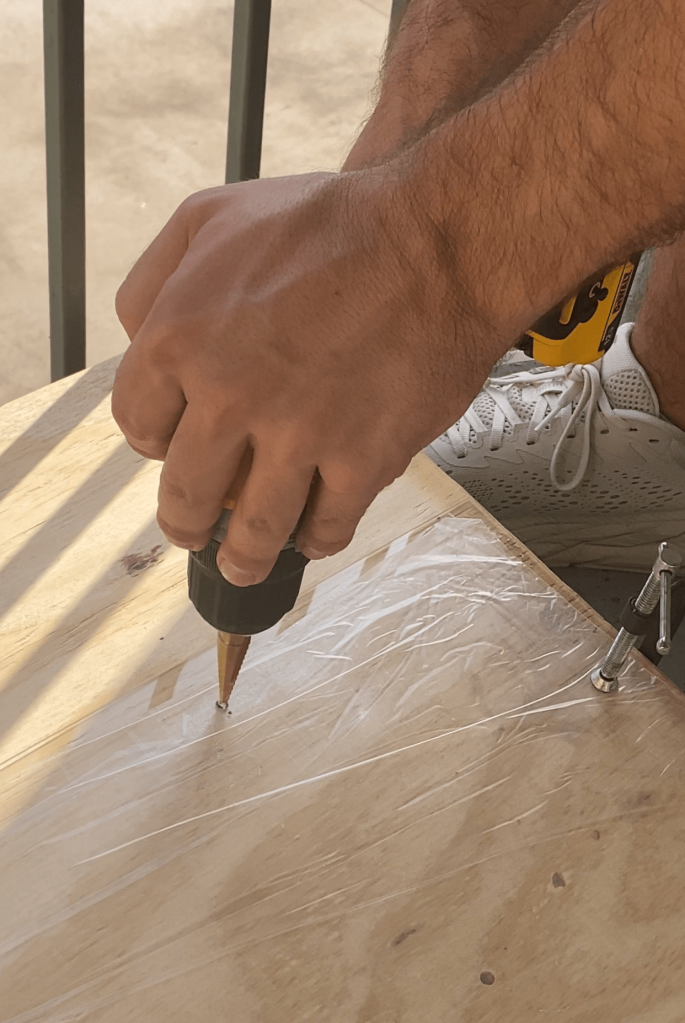
- After you have measured and marked the holes, position the drill perpendicular to the sheet and drill slowly. I would have your speed lower than normal, as it’s a delicate process and you don’t need that much force. Let the specialized bit do its job, and apply consistent pressure to the drill. You will then see the steps of the drill bit slowly increase the diameter of the hole as it goes through the sheet. Stop once you reach desired diameter that corresponds with the markings on the bit. (Picture 3+4)
STEP 3:
Now that you have drilled the holes, you can go ahead and super glue the grommets in place. I used the flat parts of them, one on each side. It is mainly for it to look nicer. You can spray paint them to the color that matches best your overall wedding look. Let them dry in place for at least 20 minutes.


STEP 4:
It’s vinyl time. Or paint. Or what ever style you choose to use to add the words to your board. Since I used the Cricut for mine I will explain the whole process on how I did it, in case some of you choose the same route.
The welcome sign is way easier and you know the information on it will not change. The seating chart will take a little longer and you want to do it once you know you have the final guest list and have organized the seating arrangements. But let me tell you, if people cancel last minute, don’t stress about it!
Once you have designed your signs (you can also just download a template if that is easier for you) make sure you adjust the size to match how you will want it on the acrylic sheet. And remember to leave the space that is taken by the grommets. After your Cricut does its magic and cuts all the little letters, and after you do the very tedious but somehow relaxing job of peeling the extra vinyl off, it’s time to do some measuring. I used painter’s tape as a guide to make sure all distances and spaces where equal. This took me a while but it was so worth it.


As always, if you have any questions please leave a comment or send me an email 🙂 Hope you have fun with this project!

Leave a comment